Sunday, March 30, 2014

C&S Cards Continued


I'm here to share more cards from the Clean & Simple Card Class 3 but I'll be honest, I'm not finding much appeal for the techniques demonstrated on Day 5. (New techniques videos are provided every other day...Day 1, 3, 5, etc.)  The theme of Day 5 was 'Backgrounds Into the Foreground' and the techniques included Iron-Off Embossing,  Masked Background, and Graffiti Stamping.

Iron-Off Embossing ---  Seriously?  There's no way I'm pulling out my iron to make a card.  I scratched this one off the list entirely.

Masked Background ---  The class example demonstrated how to make your own plaid background using masking tape and ink.   I despise plaid but for the sake of "stretching and growing" I played along.  The result?  A background I despised.  LOL!!!  Pitched that one right in the trash.  I did however try my hand at a masking technique of a different sort with a result I really like.


I masked off the border and shaded in the interior of the card with distress ink. Very simple but much more to my liking.


Graffiti Stamping ---  Now this was a technique I could get into!  Very fun to design and create.


I will definitely be pulling out more stamps and making a variety of these types of cards.  Love this technique.


You may notice a better quality of photographs.  (At least, I hope you do.)  I purchased a new lamp for my desk and LOVE it.  What a difference it makes in my photos which were all taken with my Iphone 5S.

Next time....Day 7, Creative Coloring.

Wednesday, March 26, 2014

C&S 3 Cards - Day 3

The techniques demonstrated on Day 3 of the Clean & Simple Card Class were Scenic Stamping, Masking and Stamp Layering.

Scenic Stamping --- My current favorite card designer is Julie Ebersol.  I just love everything she does, in fact, I wanna be her when I grow up.  You can find her at PaperTrufflez.com and EllenHutson.com. Her technique involved using stamps to create the illusion of depth.  Her example of a stylish Parisian girl on a moped in front of the Eiffel tower was gorgeous. Unfortunately I do not own such a stylish stamp set so I had to settle for a monkey and a palm tree.  LOL!!!  My example is not nearly as breathtaking as hers but I had a lot of fun doing it and plan to play with watercolors much more often.


Masking --- This technique involves masking off a portion of your card front before applying any stamping, stenciling and/or embossing.  I did a test run by heat embossing a woodgrain background in white before watercoloring over it with a distress ink.


It's hard to see but I used a watercolor pencil for the sentiment and then applied Glossy Accents over the top.  (Much prettier IRL.)  The background technique worked perfectly so I proceeded with the masking.


I totally messed this one up by attempting to watercolor prior to heating my embossing powder. (hint...doesn't work. LOL!)  I saved it by cutting off the right side of the front panel and adhering it to the edge of the card.


Third time's a charm....


Stamp Layering ---  For this technique I played around with several versions of background and circle stamps.  Here's what I came up with...


I couldn't find a small circle stamp so I used the end of a pencil eraser which works perfectly.  I applied Glossy Accents to all of the dots so once again, they are much prettier IRL.  (I really, really need to learn a better way to photograph my cards as my photos do not do them justice in any way.  You may notice the different actions I applied to different cards trying to find just the right one.  So far, I haven't.)  

Of the three techniques the watercoloring was definitely my favorite.  I LOVED coloring as a child and had so much fun with this card.  Even Meg (who HATES to color) got into the act with me.  I definitely see myself doing this much, much more.  As for the other two techniques, probably not so much.

As always, thanks for stopping by.  I'll post more of my class examples as I finish them.

Monday, March 24, 2014

Clean & Simple Card Class 3


I mentioned last week that I enrolled in the Clean & Simple Online Card Class 3.  I didn't have the opportunity to participate while it was "live" but I'm happily playing catch up now.

Each day showcased three different techniques.  I'm an avid card maker but am finding that these techniques are stretching my abilities (and sometimes my patience) but I'm determined to make a card using each one of their ideas.

Day One was titled Faux Effects.  The techniques included Faux Metal, Faux Layered Die Cuts and Faux Letterpress.  Of the three, the faux letterpress was most definitely my favorite.

Here are my "takes" on their examples....

Faux Metal ---  These cards gave me fits but through no fault of the technique.  I started stamping with pigment inks which ended up smearing because I didn't give them time enough to dry.  Then I miss-stamped a sentiment.  Then I smudged ink from my thumb onto a wonderfully finished card.  I swear I made eight card fronts to get these two.  I do love the idea of stamping in embossed areas but struggled with getting random circles/hearts to appear balanced.


Faux Layered Die Cuts...or in other words, inlaid die cuts.  My first card was a bit of a cheat in that I have a heart die that basically does all of the work for you.  I ran the die through my die cutter three times using three different colors of card stock.  Then I cut the negative from a piece of white cardstock and pieced it all back together like a puzzle.


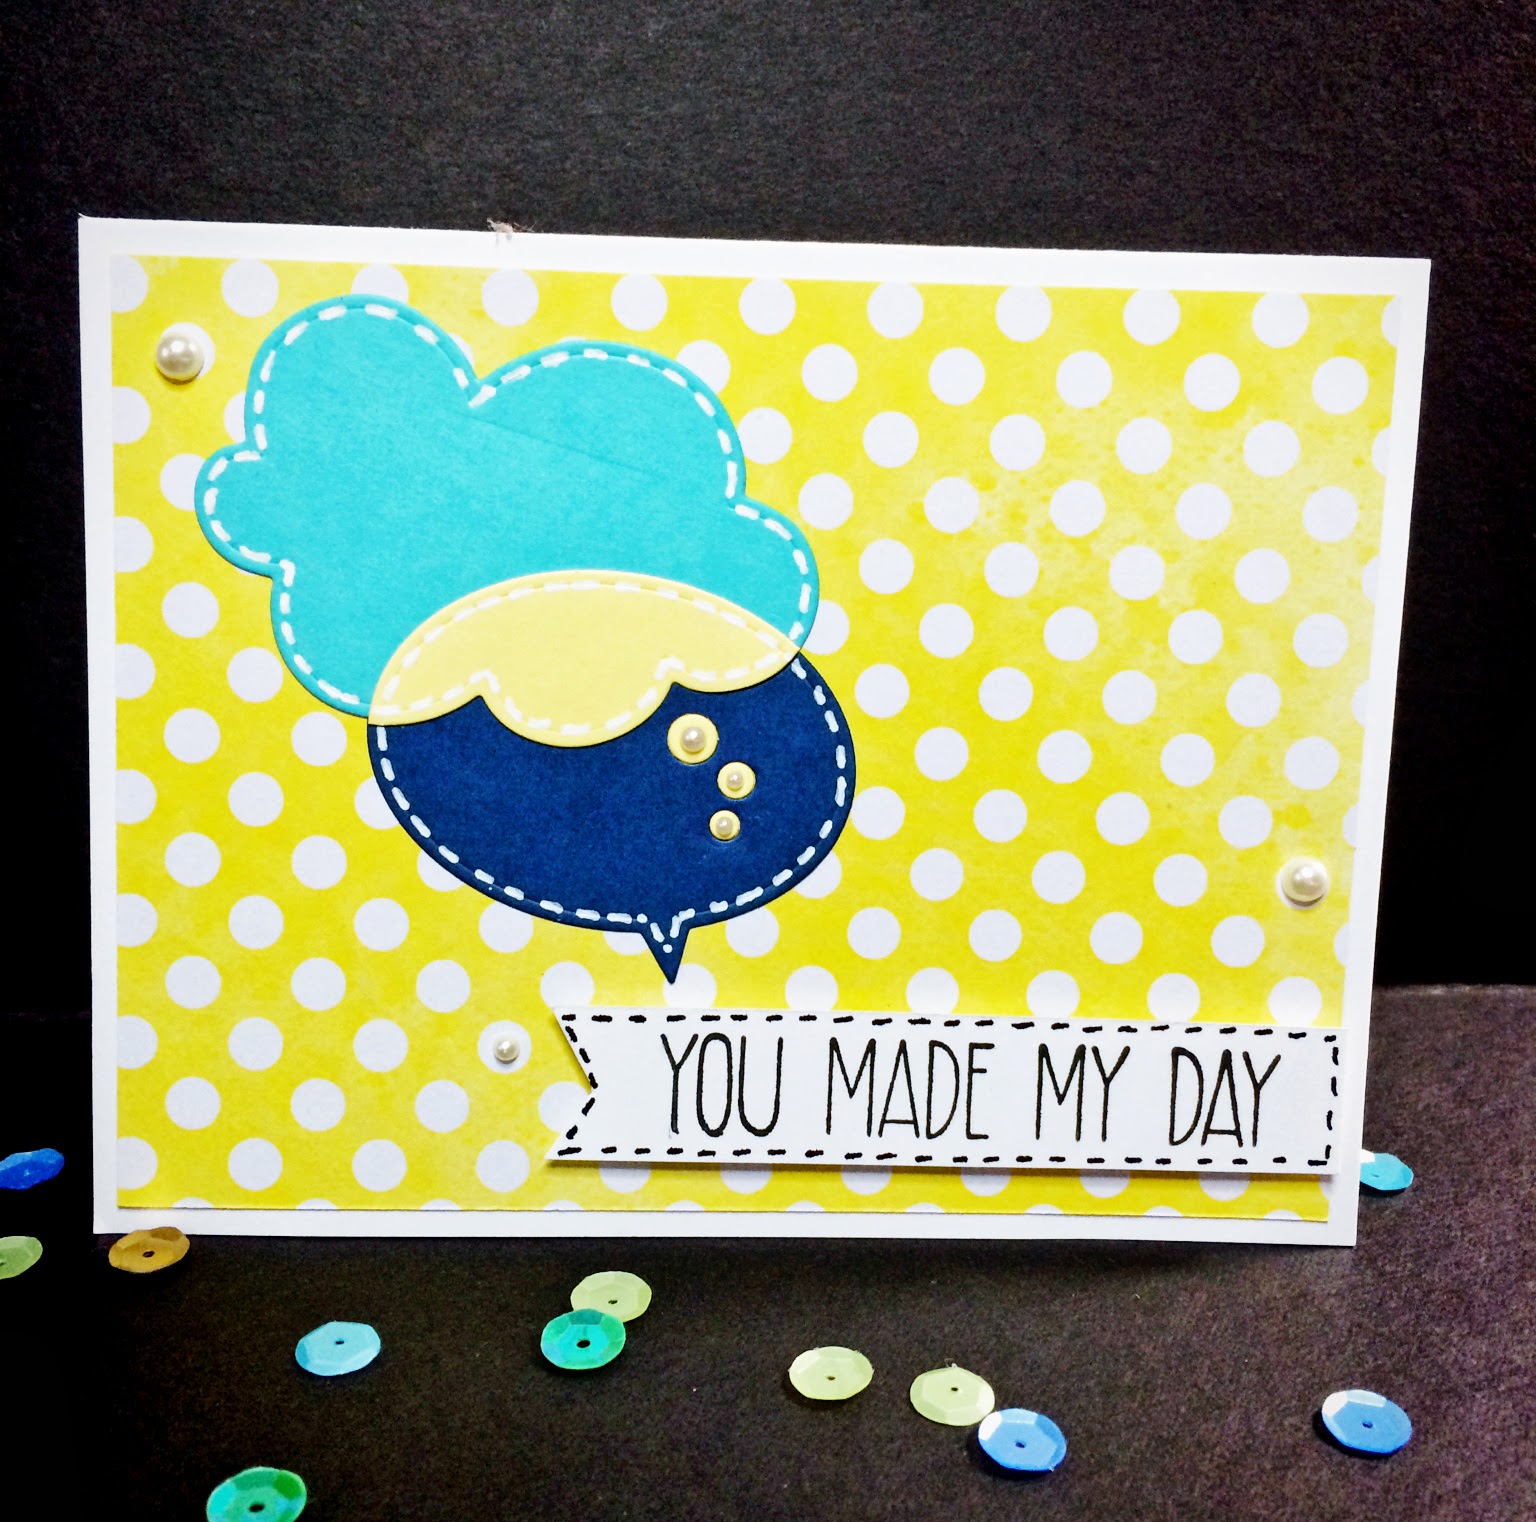
My second card uses the technique demonstrated in the class.  The two clouds and sentiment are inlaid into the blue cardstock.


At this point I decided to ditch the inlays and layer my scraps in the traditional fashion.   My next three cards were created in this way.


Faux Letterpress ---  This one was definitely my favorite.  I created three almost identical cards because I loved how the first one turned out.  The technique is simple....after stamping your images, go back over them (slightly offset) with a white pigment ink.  The results are just beautiful, more so than my photo indicates.


I can definitely see myself incorporating all three techniques into both my cards and scrapbook pages.  Next up in JulieWorld ---Day Three.  I'll post my examples once I'm finished.  Thanks for stopping by!!!

Wednesday, March 19, 2014

St. Patty's Day Fun


It's been awhile since my last post, I know.  We had family visiting last week and this week is proving to be busy as well.  I've accepted three substituting jobs but will have next week completely free since it will be spring break in our area.

On the crafting front, I signed up for the Clean & Simple 3 card class which started last week.  I've only had a small amount of free time but plan to get caught up with the videos this afternoon and hopefully have some time to play on Saturday.  That said, I did find the time to put together a little something special for Meg.

As many of you know, Meg is extremely proud of her Irish heritage and name so celebrating St. Patty's Day with a Bucket 'O Green has been a tradition in our house for many years.  As she grows older though, it's harder and harder to find cute things to put in her bucket.  This year was made especially difficult because so many of the candies/sweets that she likes are chewy, gooey and off limits due to her new braces.  I decided to make a little something special for her to try to make up for it.

I began with a quart size wide mouth mason jar, some glass enamel paint and Mr. Huey's spray, all of which I had in my craft stash.  (Imagine that!  *wink*)


I poured some of the enamel onto my silicone craft mat and added a couple of drops for the green spray.  After mixing them well I applied a thin coat to the outside of the mason jar (and outer ring lid) and then baked it in a 200 degree oven for 40 minutes.   This sets the paint into the glass so that it doesn't rub off.


While they were cooling I punched two circles (one large scallop and one smaller circle) from green cardstock and used them to decorate the top of the metal lid insert.  (Sorry no individual photos here.) Using E6000 glue, I adhered the lid insert to the outer ring so that they are virtually one piece rather than two.

At this point I'll reveal the final result as it will make further explanations much simpler.


I filled the jar is filled with the complete contents of two 11.5 oz bags of mint M&Ms.   (Yes, almost a pound and a half of those babies fit into one jar!)  My original idea was a gold painted terra cotta pot filled with Rolos (another of her favs) but with the braces I had to come up with a Plan B.  Obviously I'm biased but I think it turned out really well.

To make the tag I layered a green hand cut banner over a larger gold one (leftover from my handmade Christmas gifts) and topped them both off with a piece of white vellum punched out into a circular shape.  The Happy St. Patrick's Day greeting and clovers are some extremely old rubons that haven't seen the light of day for at least 7 years.  (See, it pays to be an organized hoarder!)  I tied both a gold ribbon and a green/beige burlap ribbon around the lower mouth of the jar and used green/white baker's twine to dangle the tags.  I threw in a plastic gold coin for good measure.  On the top of the jar sits a little leprechaun that I picked up at Hobby Lobby for $2.00.  He's adhered with the same E6000 glue that I used on the lid pieces.   I think this turned out sooooo cute!!!

Here is a photo of Meg's entire bucket of happiness that she received when she got home from school.


She loved it all but especially her leprechaun friend, as I knew she would.  And she's worn those silly socks to bed every night since Monday.  LOL!!

Did you do or make anything special to celebrate this year?

Saturday, March 8, 2014

Meg's Big Week

This was a big week for Meg, one she'd wished for going on three years now.  Of course when she got the news last week that the time had finally arrived she started backpedaling.  But, as many times in life, the anticipation and dread is far worse than the actual event and she emerged a trooper.


The before . . .


The during . . .


And the after . . .


Pretty Girl will soon be Prettier Girl.


Thursday, March 6, 2014

"Fat Tuesday Finger Puppets"


Today's title comes directly from a text I received from Jay two days ago.  Without further ado, here's the photo that accompanied it.


Ready?


Are You Sure?


OK, Here Goes....


So there you have it.  Fat Tuesday Finger Puppets, Jay Style.